DIY: A Pumpkin Carving Kit with Amy Blessing
Translation missing: en.blogs.article.author_on_date_html
Living
DIY: A Pumpkin Carving Kit with Amy Blessing
February 17, 2016
I was recently chatting with the amazing Amy Blessing (my go-to for all things crafting) and lamenting about the fact that carving pumpkins with the little ones isn’t as fun as one would hope, because it can be so hard. And while she completely agreed, she of course had a solution. The key, she shared, is the right tools. In fact, she added, not only do the right supplies make the carving so much easier, they make it so much fun. With this in mind, I asked Amy to share her essentials, which she of course put together in a beautiful handmade kit. Below, her tools for the job, as well as her favorite pre-made sets. Happy carving! XXJKE
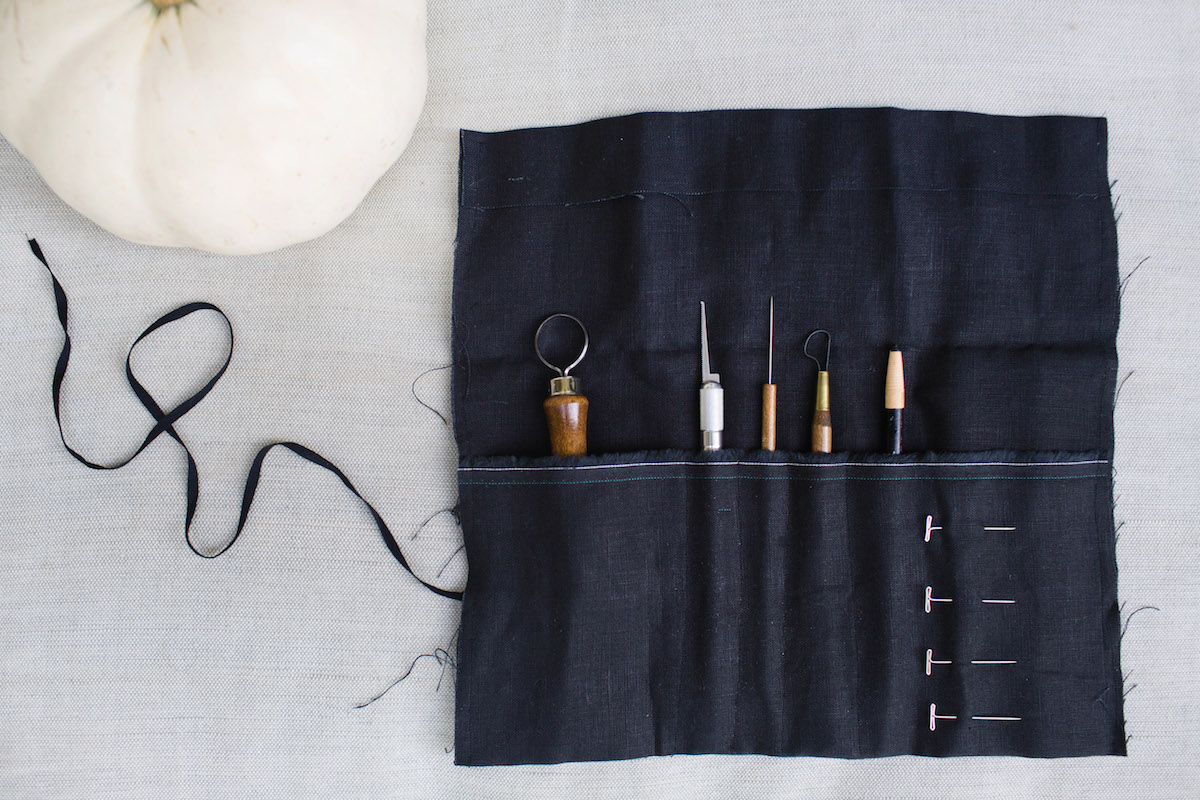
PUMPKIN CARVING ESSENTIALS
Keyhole Saw – to cut out the top of the pumpkin (not pictured in the kit, but essential)
Miniature Saw (Blade #15) – for carving
Potter’s Fleshing Tool – to scrape out the pumpkin and thin the walls
Needle Tool – for transferring designs onto the pumpkin
Potter’s Wire Sculpting Tools – to carve details on the surface of the pumpkin
Black Linen – to sew your own kit, if you like
PRE-MADE CARVING SETS
One of the best carving kits (for adults) I have ever seen is one put together by LA sculpture artist Nick Petronzio (he also carves the amazing pumpkins found at Mr. Bones Pumpkin Patch). The Nick Petronzio Pro Pumpkin Carver Set includes everything I put in my set (except the keyhole saw, too big) plus more. He also includes a sponge, which is essential as well for cleaning, and multiple mini saws. His sets can be purchased at Mr. Bones Pumpkin Patch, at their new location in Culver City.
Another great pre-made kit (this one for kids) can be found in-store at Williams-Sonoma locations. My little one did a great job (highly-monitored) with this kit last year.
Photos: Brittany Wood